Introduction:
In the realm of autism therapy, the significance of sensory interventions cannot be overstated. Sensory Swing, a versatile therapeutic tool, holds the promise of unlocking a world of calm and comfort for individuals with autism. This step-by-step guide aims to empower beginners with the knowledge needed to install Sensory Swing effectively.
Section 1: Understanding the Importance of Sensory Therapy
Sensory therapy stands as a cornerstone in the treatment of autism spectrum disorders. It serves as a modality to address sensory processing challenges, promoting self-regulation and emotional well-being. The installation of a Sensory Swing introduces a dynamic element to therapy, offering a unique approach to sensory integration.
Section 2: Setting the Foundation - Pre-Installation Preparation
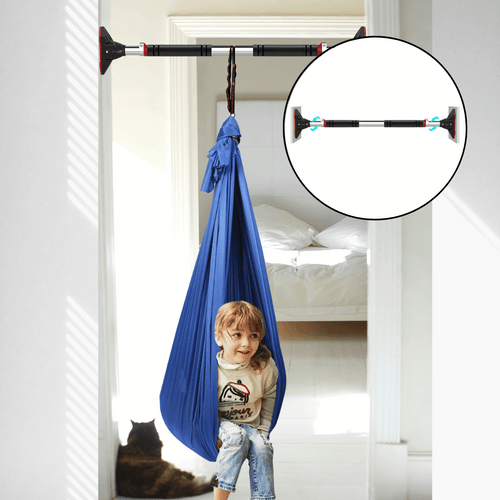
Creating a conducive environment is paramount for successful therapy sessions. Choose a space that minimizes external stimuli, fostering a safe haven for sensory exploration. Consider the user's comfort and preferences when selecting the installation location.
Section 3: Gathering the Tools and Materials
Quality and safety are non-negotiable when it comes to Sensory Swing installation. Utilize a comprehensive list of tools and materials, ensuring durability and reliability. Investing in high-quality components contributes to the longevity and effectiveness of the therapy.
Section 4: Step-by-Step Installation Guide
Assembling the Swing Components: Begin with the careful unpacking of Sensory Swing components. Identify the main frame, swing seat, and necessary hardware. Follow the manufacturer's instructions precisely, securing each component in place. Use a level to ensure the frame is perfectly balanced.
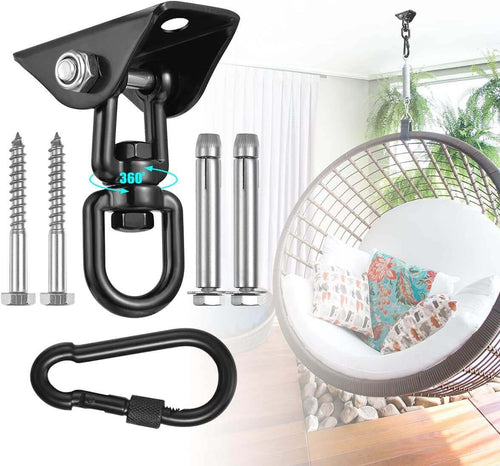
Securing the Mounting Hardware: Locate a sturdy ceiling joist or support beam in the chosen installation area. Drill pilot holes for the mounting hardware and attach them securely. Double-check the stability of the hardware to ensure it can support the weight of the swing and the user.
Adjusting the Swing Height and Length: Determine the appropriate height for the Sensory Swing based on the user's height and preferences. Adjust the chains or ropes accordingly, ensuring the swing hangs at a comfortable level. Consider the swing's length to allow for a full range of motion without any obstructions.
Ensuring Proper Weight Support: Refer to the manufacturer's weight recommendations for the Sensory Swing. Regularly inspect the swing for wear and tear, especially in weight-bearing components. Replace any damaged parts promptly to maintain optimal safety.
Testing and Fine-Tuning: Before inviting the user to the swing, conduct thorough testing. Check for any unusual sounds, swaying, or instability. Fine-tune the height and length to accommodate the user's comfort and therapeutic needs. Ensure all adjustments are secure and well-balanced.
Section 5: Safety Measures and Maintenance Emphasize the importance of adhering to safety measures during Sensory Swing usage. Regularly inspect all components, including chains, hardware, and the swing seat, for signs of wear. Establish a routine maintenance schedule to address any issues promptly.
Conclusion: The installation of a Sensory Swing is not just a mechanical process; it's an investment in the well-being of individuals with autism. The therapeutic benefits extend beyond the physical swing, permeating into the realms of emotional regulation and self-expression.
Call to Action: Share your experiences and questions in the comments below. Let's build a community where knowledge and support flow freely. If this guide resonates with you, spread the word on social media to empower others on their autism therapy journey.
This guide serves as a compass, guiding beginners through the nuanced process of installing a Sensory Swing. May it be a source of inspiration and empowerment on the path to unlocking calm for those navigating the world of autism.


